1C.1 ADM Standards for Office of Planning Consultants
1C.1.1 Introduction
The Maryland Department of Transportation Maryland Aviation Administration (MDOT MAA) Office of Planning requires consultants to submit final project documents to MDOT MAA via the AIRPortal Document Manager (ADM) application.
ADM is a light weight, downloadable, Windows-based desktop application that allows consultants to directly submit electronic deliverables to MDOT MAA for archiving in AIRPortal prior to the closeout of a project. The purpose of ADM is to streamline the archiving process and to ensure those documents meet archiving standards.
Final documents must be uploaded in PDF format. Consultants may submit files in other file formats in addition to PDF. Once Planning files have been submitted and approved by the MDOT MAA archivist, they are stored in a database and are accessible by reference in one or more Planning libraries found in AIRPortal. A file is assigned a database reference for a library based on its attributes (i.e. library, category, and/or topic). Below is a chart of those attributes.
|
Office |
Library Name in AIRPortal |
Category |
Topic |
|
Planning |
Planning Documents |
Various |
Various |
|
Airport Layout Plans |
Airport Layout Plans |
Airport Layout Plans |
|
|
Airport Master Plans |
Master Plan |
Various |
|
|
Real Estate |
Real Estate |
Various |
1C.1.2 System Requirements
To use ADM on a Windows PC, users must have at least the following:
· Windows 7 SP1 or higher
· .NET Framework 4.5 (Install will download it from Microsoft if target PC does not already have it installed)
· 1 GHz processor
· 1 GB RAM
· 100 MB of disk space
· Internet connectivity
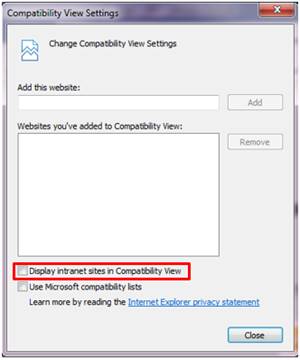
For users of Internet Explorer, ensure that compatibility mode is turned off. To do this, go to Tools > Compatibility View Settings. Uncheck the box next to Display intranet sites in Compatibility View.
1C.1.3 Accessing AIRPortal Document Manager
ADM software is available at the following AIRPortal location: AIRPortal>AIRPortal Document Manager (ADM). An AIRPortal login is required to access the ADM software. Additional permissions are required to use the software. To request permission to use ADM, the consultant project manager should contact the AIRPortal Administrator (airportal@bwiairport.com).
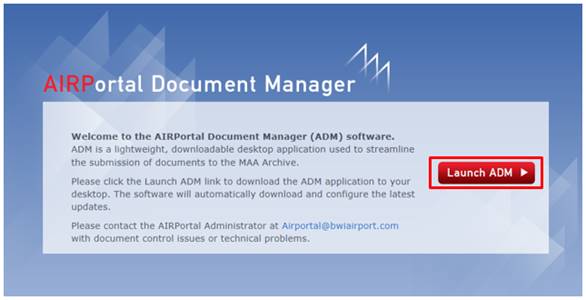
1C.1.3.1 Downloading AIRPortal Document Manager
When you click on the ADM module, you will be redirected to the download site. When you click the Launch ADM link, the software will download and install on the target PC. If the target PC does not have .NET framework 4.5, the framework will download with the ADM software.
1C.1.3.2 Installing AIRPortal Document Manager
Once you have downloaded the AIRPortal Document Manager, click Install and follow the installation steps.
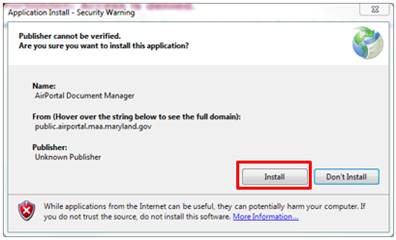
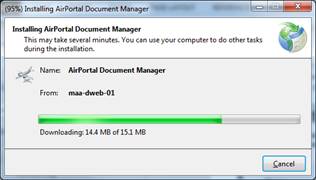
After you have clicked the Install button you will see the application being installed.
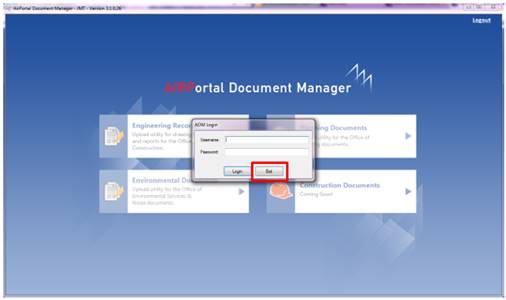
When the installation is complete, the AIRPortal Document Manager application will open. To close this window, click the Exit button at the bottom of the Login window.
1C.1.3.3 Opening AIRPortal Document Manager
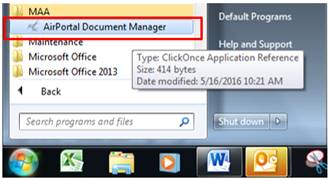
Once ADM is installed, the application will be available through Start Button > All Programs > MAA > AIRPortal Document Manager.
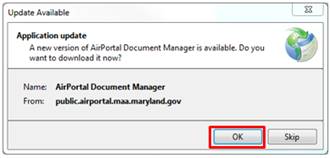
The application will automatically check for updates each time it is launched. Users are encouraged to install any updates to the software as they are available to ensure maximum functionality. To accept the application update, click OK.
1C.1.3.4 Logging Into AIRPortal Document Manager
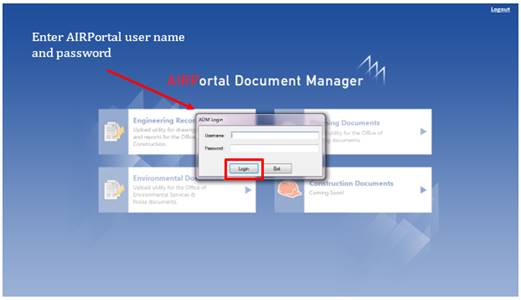
To log in to the AIRPortal Document Manager (ADM), enter your AIRPortal Username and Password in the ADM Login window. Click Login.
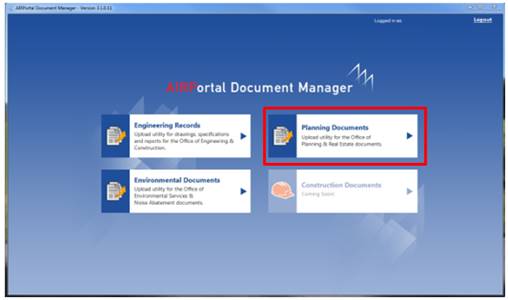
Once logged in, the user will come to a landing page where they can choose between Engineering Records, Planning Documents, and Environmental Documents. Permission to access these upload tools is dependent on the consultant. If a consultant does not have permissions to upload Planning documents, the Planning Documents button will be grayed out. Click on the Planning Documents button.
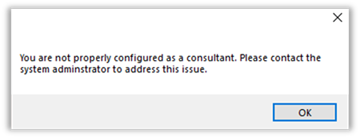
If a Planning consultant receives the error message below after clicking on the Planning Documents button, they should send an email to Airportal@bwiairport.com.
1C.1.4 Planning File Guidelines
1C.1.1 File Contents
Planning files submitted to MDOT MAA via ADM are the final version of a file that has been reviewed and approved by the MDOT MAA Office of Planning. Before uploading an Planning file in ADM, please make sure to check for the following:
· It is the final version of the file
· The first page of the file contains the title and publication date of the document (where applicable)
· No pages are missing
· No pages are duplicated
· If the file has been scanned, the scan is good enough quality for a user to be able to read it on screen and read a printed copy
1C.1.2 File Naming
Planning files that will be uploaded into AIRPortal via ADM must have a suitable name. The guidelines below should be followed when naming files:
· The file name should match the name of the document, with some minor exceptions
o The file name must be less than 247 characters
o If the airport name is included in the title, it does not have to be spelled out
· Since all documents are final documents, the word “Final” should not be included in the title
· If the file contains sensitive security information (SSI), it should have _SSI appended to the file name
· Drawings such as Airport Layout Plans should have file names that define the drawing and how the files are to be displayed such as:
o <Four-digit year> <Airport code> <sheet Sequence No.> “- “<Sheet Identifier> “- “< Document Title or Sheet Title>
o Airport code: BWI or MTN
o Sheet Sequence No. = 4-digit number starting with “0001”. Leading zeros are required. Must match the sheet number.
o Sheet Identifier = Sheet number as shown, if the sheet sequence and sheet number are the same
o Document title or sheet title = Sheet title as shown in drawing title box.
1C.1.5 Overview of Planning Documents Home Window
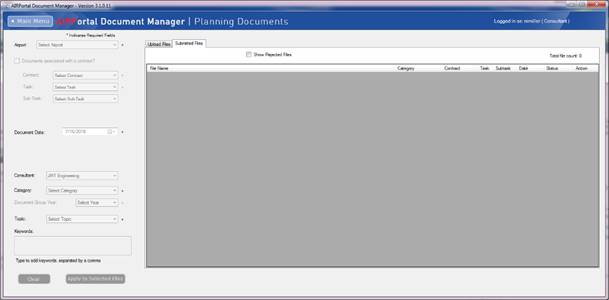
When the user first enters ADM for Planning Documents, they see the following screen.
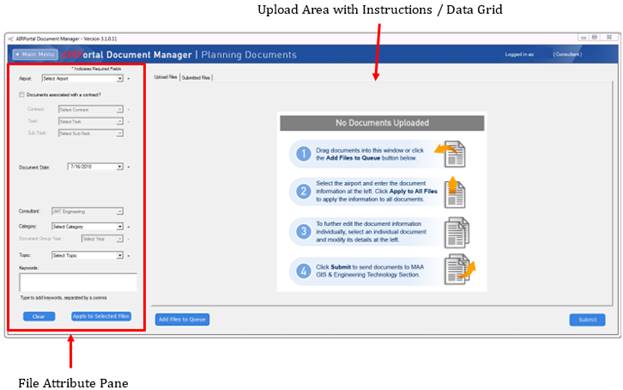
The Planning Documents ADM interface allows the user to upload files or view submitted files that have not yet been approved. Once a user adds a file to the queue for uploading, the instructions are replaced with a data grid that lists the files in the queue.
1C.1.6 Add Files to Upload Queue and Define Attributes
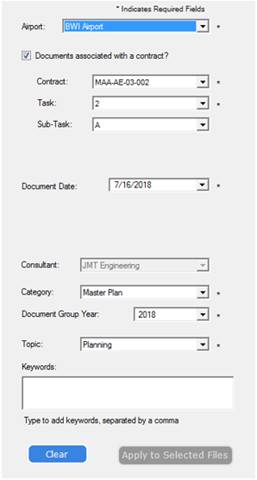
All files to be uploaded must have attribute information. The file attributes can be set before or after adding files to the queue. Attributes include:
Airport: A required field, the user can choose from BWI Airport, Martin State Airport, Both, or Other.
Documents associated with a contract: Some planning documents are not associated with a contract. If the document to be uploaded is associated with a contract, the user must check this box. Doing so will make the Contract, Task, and Sub-Task dropdowns active.
Contract: A required field, the user will choose the contract that the file(s) they are uploading are related to. The user will only be able to view contracts for which their firm is the prime.
Task: A required field, the user will choose the task that the file(s) they are uploading are related to. The user will only be able to view tasks for which their firm is the prime.
Sub-Task: The user can choose a sub-task that the file(s) they are uploading are related to. The user will only be able to view sub-tasks for which their firm is the prime. Not all tasks have a sub-task.
Document Date: A required field, the user will enter the effective date of the file(s) to be uploaded. This should be the date as it appears in the document being submitted.
Consultant: This field is populated by the system and is based on the credentials of the user uploading the file.
Category: A required field, the user can choose among a number of values including Administration, Airport Layout Plans, Airside, Landside, Master Plan, Other, Real Estate, Regional, and Terminal. Categories serve as keywords and facilitate searches in the AIRPortal document library for Planning.
Document Group Year: A required field for files with a category of Master Plans or Airport Layout Plans, the user must choose a year from the list. This field will help group files by year which will aid users in finding files in the AIRPortal document library for Planning. If the selected category is other than Master Plans or Airport Layout Plans, this field is disabled.
Topic: A required field, the user can choose among a number of values. Users can start typing a topic name to jump down the list. Topics serve as keywords and facilitate searches in the AIRPortal document library for Planning.
Keywords: The user can enter other keywords, separated by a comma, that will help users to find the file in the AIRPortal document library for Planning. This field can be left blank. Users should not duplicate category or topic values.
1C.1.1 Define File Attributes Before Adding Files to the Queue
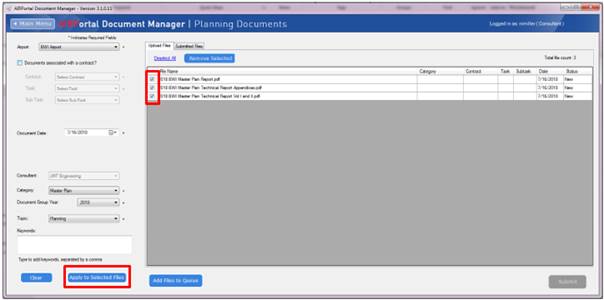
The user can begin the process by entering the required file attributes. Required fields are marked with an asterisk. In the example below, the document to be uploaded is associated with a contract.
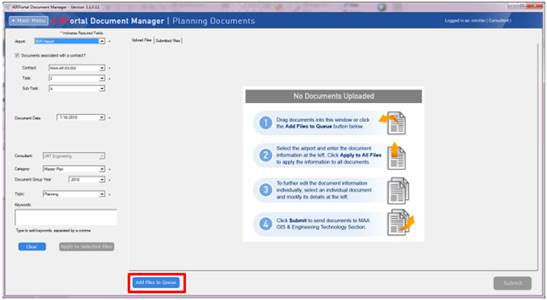
After entering the required file attributes, the user will click on Add Files to Queue or drag and drop one or more files from their desktop into the ADM Upload Files window.
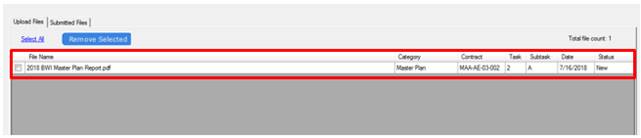
When the user adds a file to the queue, it is assigned the attributes that were entered beforehand.
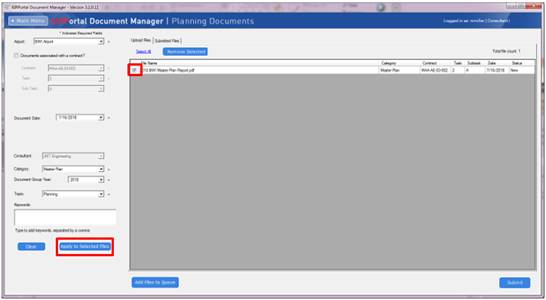
The user can modify the attribute information of the file by clicking the checkbox next to the file, updating the attribute information in the file attribute pane, and then clicking Apply to Selected Files at the bottom of the file attribute pane.
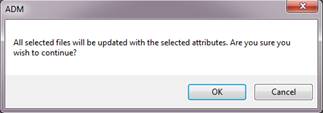
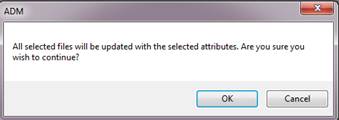
The user will be asked to confirm that they want to update the selected files with the new attribute information. The user can proceed with the update by clicking OK or canceling the update by clicking Cancel.
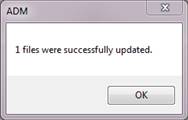
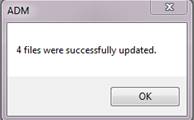
After the user clicks OK, they will receive a message that the update was successful.
1C.1.2 Define File Attributes After Adding Files to the Queue
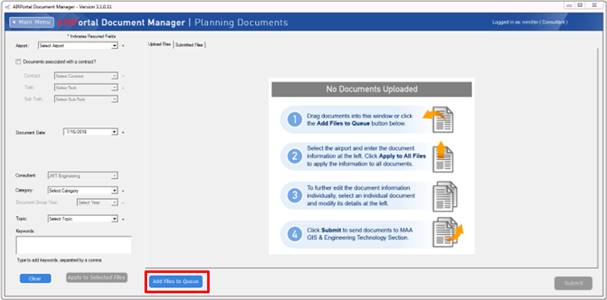
A user can add files to the queue for upload by clicking on Add Files to Queue or dragging and dropping files from their desktop into the ADM Upload Files window. Clicking Add Files to Queue will open a window where users can navigate to the location of the files on their desktop or on a shared drive.
After the user has added one or more files to the queue, they will check the box next to the applicable files, define the file attributes, and click Apply to Selected Files.
The user will be asked to confirm that they want to update the selected files with the attribute information. The user can proceed with the update by clicking OK or canceling the update by clicking Cancel.
After the user clicks OK, they will receive a message that the update was successful, and the data grid will reflect the changes made.
1C.1.7 Clear Attribute Information
If at any time, the user wants to clear the attribute information that is visible in the file attribute pane, they can click on the Clear button.
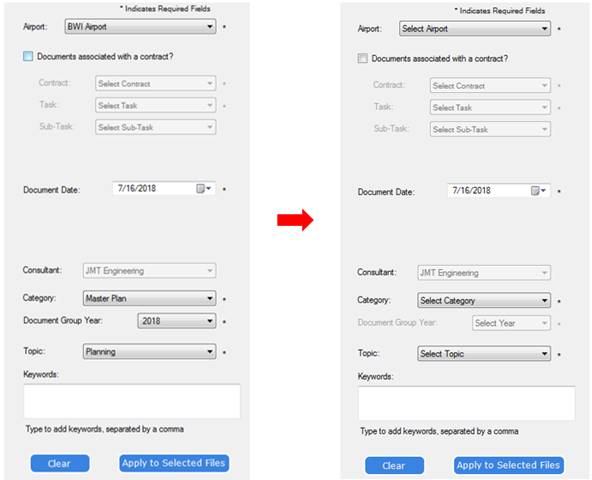
After clearing the file attribute pane, the user can enter new information and apply it to selected files in the data grid. The document date will default to today’s date.
1C.1.8 Remove a File
Files can be removed from the upload queue by checking the box next to the document and clicking Remove Selected.

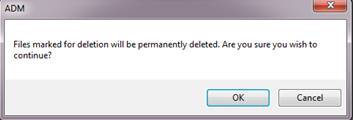
The user will be prompted to confirm that they want to proceed and permanently delete the files marked for deletion. Clicking OK will delete the files. Clicking Cancel will cancel the action.
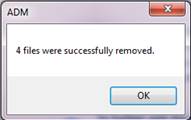
After clicking OK, the user will get a message notifying them of the successful removal of the files. The data grid will be emptied if all files have been selected for removal.
1C.1.9 Submit a File
Once the user has put all the files into the queue that they want to submit and defined the attributes for the files, they will submit the files by clicking Submit. If the user has not populated all the required fields, they will get an error message when they try to submit.
Note: If the user closes ADM before clicking on the Submit button, the files that have been queued will be removed. The user will have to reload the files into the queue the next time they launch ADM.

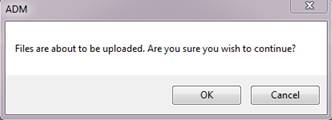
The user will be asked to confirm that they want to continue and upload all files in the data grid. They will click OK to continue or Cancel to cancel.
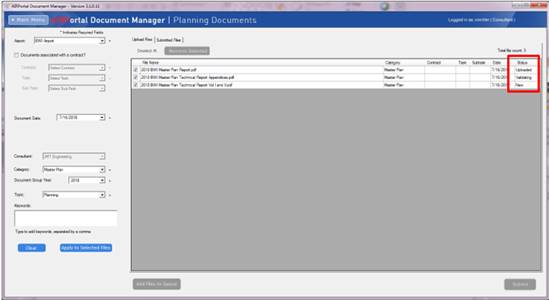
The Status field will show the current state of the file upload. Statuses include:
· New: Status of a file that has not yet been uploaded
· Validating: Status of a file that is in the process of being validated for upload
· Uploading: Status of a file whose upload is in progress
· Uploaded: Status of a file that has been successfully uploaded
Once a file is submitted, it cannot be removed or edited by the consultant unless the file is rejected by the MDOT MAA Archivist.
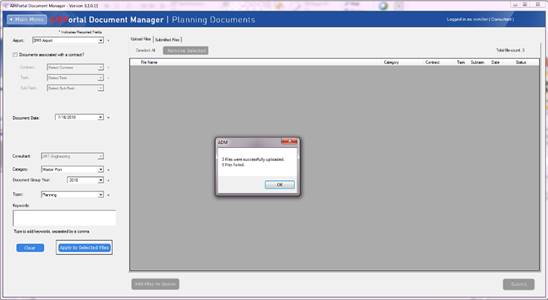
When the upload process is complete, the user will get a pop-up message letting them know how many files were uploaded successfully and how many failed. If all the files uploaded successfully, the data grid will be empty.
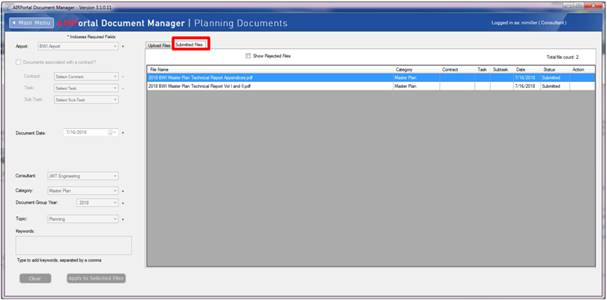
1C.1.10 Submitted Files Tab
Once a user submits one or more files and before those files are approved, they are visible to the consultant in the Submitted Files tab.
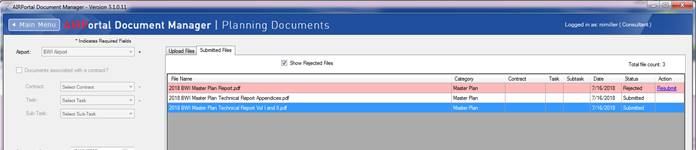
Users can see rejected files in this tab by checking the box next to Show Rejected Files. When a file is rejected by the MDOT MAA Archivist, an email is sent to the user from MAA-ADM-NoReply@bwiairport.comwith an explanation of why the file was rejected.
Approved files will be accessible to AIRPortal users in the appropriate Planning library.
1C.1.11 Resubmit a Rejected File
It is possible that a file submitted to MDOT MAA via ADM could be rejected. If a file is rejected, an email will be sent to the consultant that submitted it from MAA-ADM-NoReply@bwiairport.com with a reason for why the file was rejected.
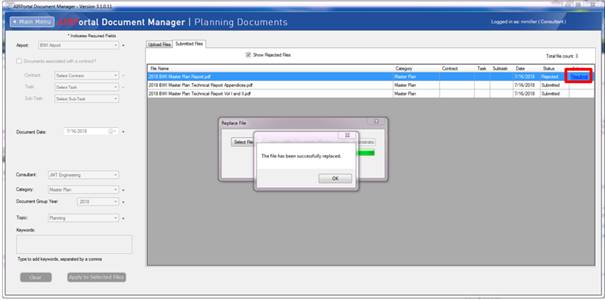
A user can resubmit a rejected file by logging into ADM for Planning Documents, going to the Submitted Files tab, and clicking on the Resubmit link. This will launch a window where the user can navigate to the replacement file and upload it. When the file upload is successful, they will get a message saying that the file has been successfully replaced. The replacement file will be assigned the same attributes as the original file.
A resubmitted file will be given a status of Resubmitted in the data grid.

Once all files that a consultant has submitted have been approved, the Submitted Files tab will be empty. Approved files will be accessible to AIRPortal users in the appropriate Planning library.